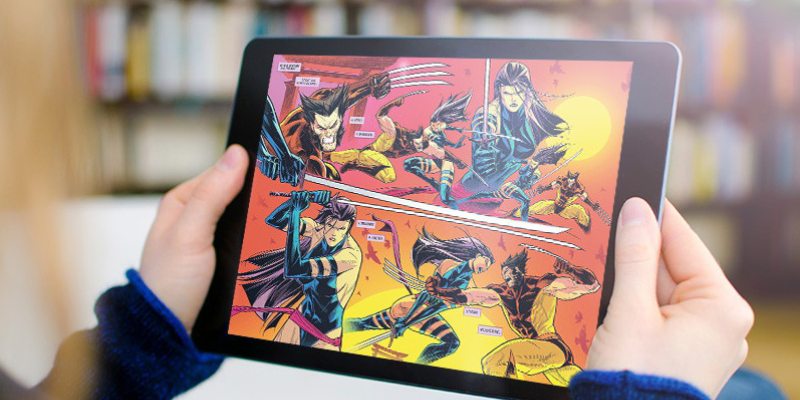
With the advent of mobile devices, the need for Wacom devices have considerably reduced. The feedback of seeing the image just below the movement of the stylus is the added benefit in using an Apple iPad with Photoshop Sketch app. This is the most intuitive way to sketch a comic outline, in black and white. In the app, tap the Plus (+) button to create a new project, use the pencil tool to sketch out on the first canvas in the project. There are a varied amount of brushes to choose from to add character to the sketch. The finished comic outline may be opened in Photoshop on desktop by tapping the send to Photoshop button.
The Image is ready, Let’s colour!
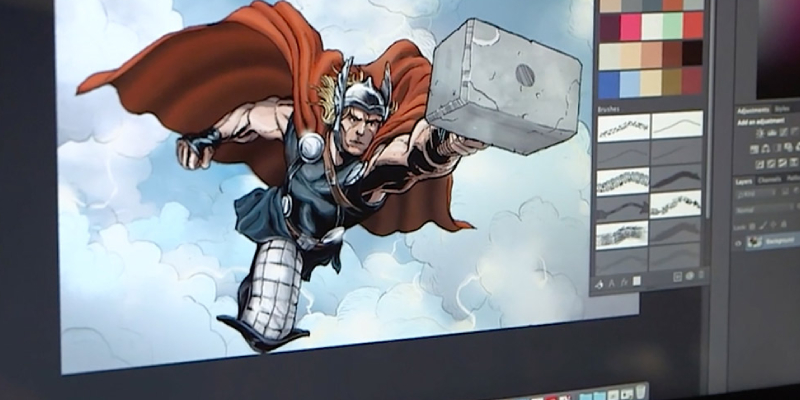
The image opens up in photoshop as a new layer, let’s rename the layer as “source”. Now let’s set the blend mode as Multiply so that colours in layers below may show up on this one. Next let’s create a new layer below the sketch and rename it as “white”. Next let us add a background layer that supports all the changes in foreground.
Before beginning the colour, one should be precise about the brush to be used. It is best to have a round brush with hardness and size to match the strokes on the drawing and also care for softer edges. To keep the painting and drawing from mixing and inseparable, let’s make a new layer below the source layer and rename it as “painting”.
Click on the colour picker, select a colour and paint areas on the painting layer with the brush tool. Alternatively, select areas using the lasso tool and use the paint bucket tool to fill. Add another layer above the painting layer and reduce its opacity to work with much more colours so as to bring in contrast and composition.
A little bit of touch-up
Let’s now create layers as “Highlight” and “Shadow” to paint appropriately making the drawing more aesthetically pleasing. To change the highlights, use the eyedropper tool to select a sample part of the drawing, use the colour picker and adjust the hue and brightness using the slider. Using a brush tool to touch up the detailing, adds character to the painting. Insert an image with texture using File, Place option. Reduce the opacity of the layer to reduce the texture intensity.
Final touches
The texture layer that we added could be adjusted further from the options available from properties panel on double clicking the layer thumbnail. Play around with brightness and contrast balance to get the best appeal. Layers may be masked as needed, after final colour adjustments, crop/resize and the work is ready!